Showing posts with label orange. Show all posts

Saturday, November 14, 2015

NOTD: Marbly accents

This notd was unabashedly inspired by this mani from @lovelylittlelacquers on Instagram. It's not quite a 1:1 copy, but it's close enough that I should credit her for the inspo. I just fell in love with the color combo and marble pattern and had to try it out for myself!

This almost ended really sadly, because the first day I wore this it was terribly dusty outside, to the point where the lighting was too orange to get good photos. There's only so much you can salvage with color correction! (see my floral mani from 31DC2015 for another tragic example). The second day was still dusty, but it cleared up a bit in the afternoon, which is good because by day 3 I usually have enough tipwear that I don't feel comfortable blogging about it. I'd have made an exception for this mani but I'm glad I didn't have to!


Polishes used:
Perfect Chic Sinful Tops collection: Dark Purple (glitter accents)
Ga-de- Whitest White
Ga-de- Sicilian Orange
Ga-de- Endless Plum

Saturday, September 19, 2015

#31DC2015 Day 19- Galaxies

Galaxy nails are a pretty essential staple in any nail artist's lexicon. They're relatively easy, and the result is really impressive and pretty hard to mess up. I'm really happy about this, because I love that it's a style that's accessible and fun to do. But the downside is, how do you do a fresh take? There are unlimited ways you can mash together different colors and nebula patterns, but after a while they all start to look the same. I thought of maybe doing a pastel galaxy, which I thiiiiiink was fist thought up by The Nailsaurus, but even that's gotten pretty popular. I'll still probably do it at some point (nothing wrong with doing a well loved style), but here I wanted to stand out. I decided to go with red galaxies, since I don't recall seeing any like that around. Of course, the nail art world is HUGE, so someone has probably done this before somewhere, but at least it's fairly unusual!

I took a ridiculous number of photos of this mani, but I also started preparing this post late at night, and I so don't have the energy to crop and watermark and edit a bajillion photos, so I'm just posting the ones I did before I burnt out. I did try a matte topcoat, and I edited one of those photos too, but in the end I think I like it better in the original glossy finish.


I ended up using entirely Ga-de polishes for this manicure, not sure how that happened!

Polishes Used:
Ga-de- Black Ruby (base color)
Ga-de- Whitest White (nebula base)
Ga-de- Shanghai Chic (red accents)
Ga-de- Orange Poppy (lighter orange accents)
Ga-de- Sweet Candy (darker orange accents)
Ga-de- Black Cherry (burgundy accents)
Ga-de- Azure Blue (blue accents)

White acrylic paint (stars)


Wednesday, September 16, 2015

#31DC2015 Day 17- Glitter

Glitter is such a deceptively simple theme, isn't it? Since it's pretty broad, I decided to challenge myself to try something out of my comfort zone. In this case, that's bar glitter.

There's a story behind this polish: A while ago, my best went to America, land of the nail polish brands they don't have around here. Since she's also pretty into nail polish (although nowhere near obsessed like I am), I handed her $20 and said "surprise me". She came back with two really gorgeous glitter toppers, and this. I genuinely didn't know what to do with it, so it's been sitting on my shelf pretty much untried for over a year.

I have to say, having now tried it, I like this polish a lot more than I was expecting to! The color scheme is surprisingly flattering for my skin tone, and the bars don't bother me nearly as much as I was expecting. It's fairly opaque in three coats, but I sponged it on to save on "bulk", and then topped it with a couple of peacock feather decals from the Born Pretty Store. It's a little textured after one topcoat, but two layers of topcoat makes it almost completely smooth.

Now I'm thinking I might revisit some other short-matte-bar glitter polishes that I'd put on my destash shelf. I wonder if I'd like those too?


Polishes used:
Ga-de- Beige Caress (beige base)
Sally Hansen- All Yarned Up (glitter topper)


Saturday, September 12, 2015

#31DC2015 Day 12- Stripes (+ swatch!)

So yeah... this is definitely a holo streak. We're on day five straight where holo is a main component in my manis. What can I say, I have a type! I regret nothing. I also have a particular attachment to this color combo- I love the teal/fuchsia/orange look, or variations on it.


The base for this polish was ILNP Mega, and this is my first time wearing it, so I decided to snap a few photos of it by itself before I put the stripes on top. I'm going to say something blasphemous, and I'm terribly, terribly sorry! But I'm not that impressed by this polish! It took four coats to reach opacity, and while the holo does look really lovely, it wasn't as strong as I expected. I've always thought of ILNP as the benchmark brand for indies, but Mega was kind of a disappointment for me. It was fine, but it didn't wow me like I was hoping for it to.

That said, the formula is fine, if thin, it dried reasonably quickly and to a completely smooth finish with no patches or streaks. Even though I used four coats, I was able to put the striping tape over it after about fifteen minutes (with the help of some fast dry topcoat but still) and it didn't dent.


Polishes used:
ILNP- Mega (holo base)
Color Club- Mrs. Robinson (fuchsia stripes)
Ga-De- Orange Poppy (orange stripes)
China Glaze- Custom Kicks (teal stripes)
LeChat- Black Magic (black stripes)


Thursday, September 10, 2015

#31DC2015 Day 10- Gradient

The nail polish gods have smiled down upon me today. I wanted to see if I could still get a linear holo effect if I did a sponge gradient with holo polishes, and it worked!! In fact, it kind of looks even more holo than it did pre-gradient. I wonder why that is?


Polishes used:
Color Club- Cosmic Fate (orange holo)
Color Club- Miss Bliss (pink holo)
Color Club- Eternal Beauty (violet holo)
Essence- Glorious Aquarius (old formula) (glitter accent)


Wednesday, September 2, 2015

#31DC2015 Day 2- Orange

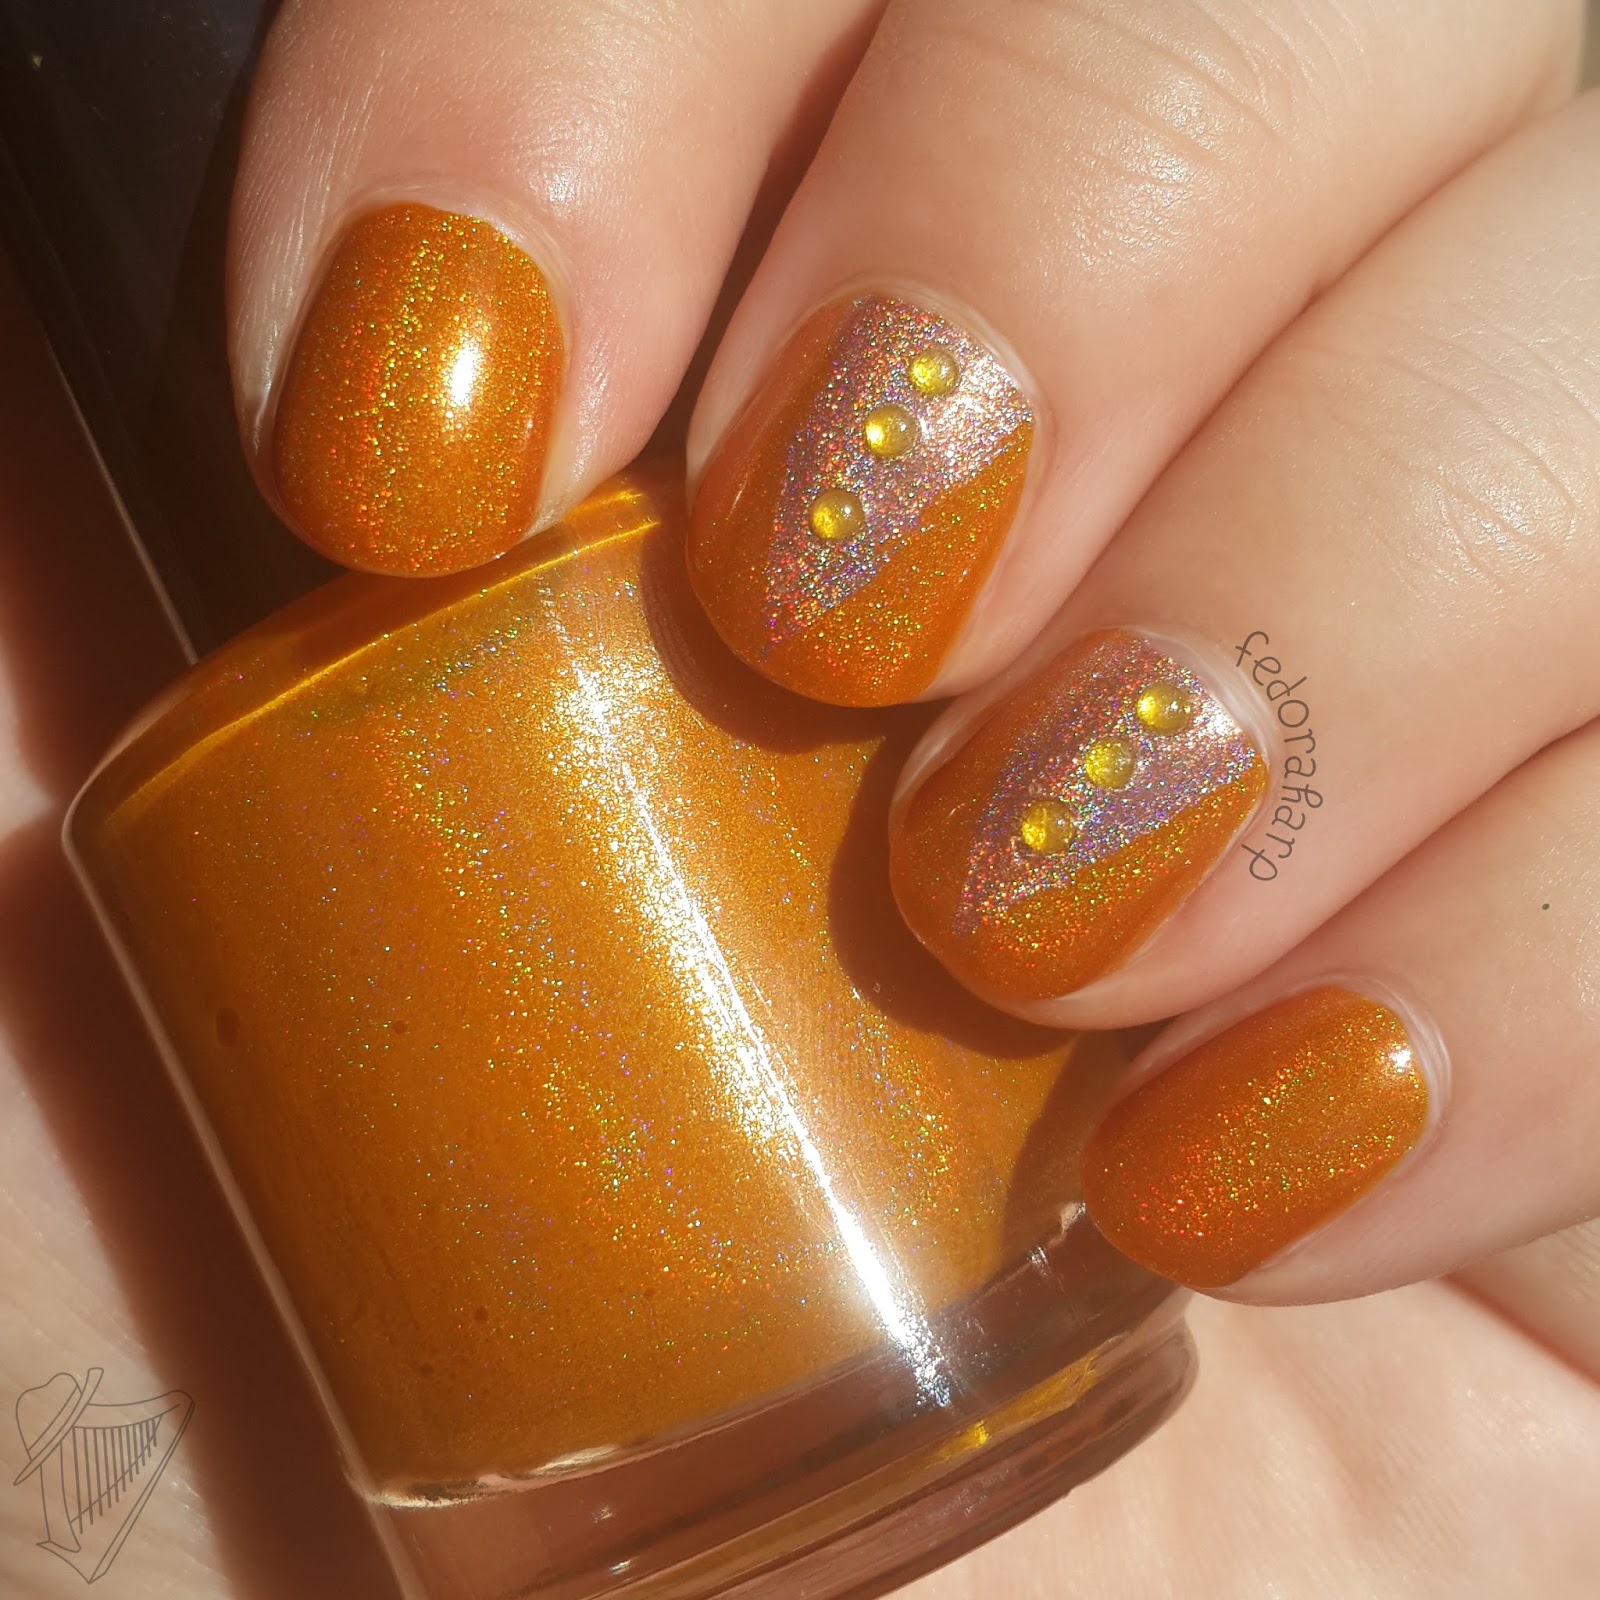
I used one of the polishes from my own indie brand in this mani, and a lot of my friends claimed it's gold, not orange. (I don't keep a copy of every single of my polishes for myself, but when I do keep one it's usually because it's holo). Please help! Is this legitimately orange? Or is it gold? Have I failed today's challenge?


Polishes used:
Fedoraharp Lacquer- Pepper Potts (orange holo)
Color Club- Cherubic (accent triangles)


Tuesday, June 23, 2015

NOTD: Summery freehand geometric doodles

I haven't done a full manicure of just freehand painting (no stamps, tricks, striping tape, or any techniques) in a while, so it was time to do one! And since it's been crazy hot lately, it needed to be in bright, summery colors. I went into these nails with absolutely no plan in mind and I'm actually pretty pleased with how they turned out! I could have done better cleanup, but honestly the end result is so pretty that I didn't even mind my questionable cuticles. I kept this on for nearly a week, which for me is about a thousand years in nail polish time.


I also took pictures of my right hand, which is unusual! Obviously I couldn't draw anything nearly this precise with my non-dominant hand, so instead I used the same set of colors to do a striping tape thing with some spiraly things from eBay.


Polishes used:
Ga-de Purple Paradise
Ga-de Mint Green
Ga-de Peach Sorbet

Saturday, June 20, 2015

Sinful Colors + GoldNails summer collection

Recently Sinful Colors released a new bright, summery collection in collaboration with Goldi from GoldNails, and they sent me a few nail polishes to review and create some designs with. I am very excited to show them to you here!

לאחרונה, סינפול קולורס הוציאו קולקצית לקים בהירה וקיצית בשיתוף פעולה אם גולדי מ-GoldNails, ושלחו לי חלק מהלקים לסקור ולהכין איתם נייל ארט קייצי. אני מתה להראו לכן מה הכנתי!

In this post I have swatched each of the three colors I was sent, plus three different nail designs, each on a different base.

בפוסט הזה עשיתי סוואצ'ים לכל שלושת הלקים שנשלחו אלי, פלוס שלושה נייל ארטים- כל אחד על בסיס אחר.

Cinderella:


Cinderella is a soft blue cream polish with a hidden pink shimmer. What a perfect name for this polish! This color is perfectly reminiscent of Cinderella's beautiful blue ball gown from the classic Disney movie. The shimmer doesn't change the overall color, but it adds a softness and a magical tone to the look. I used four coats for this swatch.

Cinderella זה לק תכלת אם גימור קרמי עם שימר ורוד עדין. איזה שם מושלם לצבע הזה, נכון? זה בדיוק מזכיר את השמלה המהממת שסינדרלה לבשה בסרט דיסני הקלאסי. השימר לא משנה את הצבע עצמו, אלא מוסיפ לו גימור רך ועדין וקסמי. בתמונות האלה אני מרחתי 4 שכבות.

Easy Going:


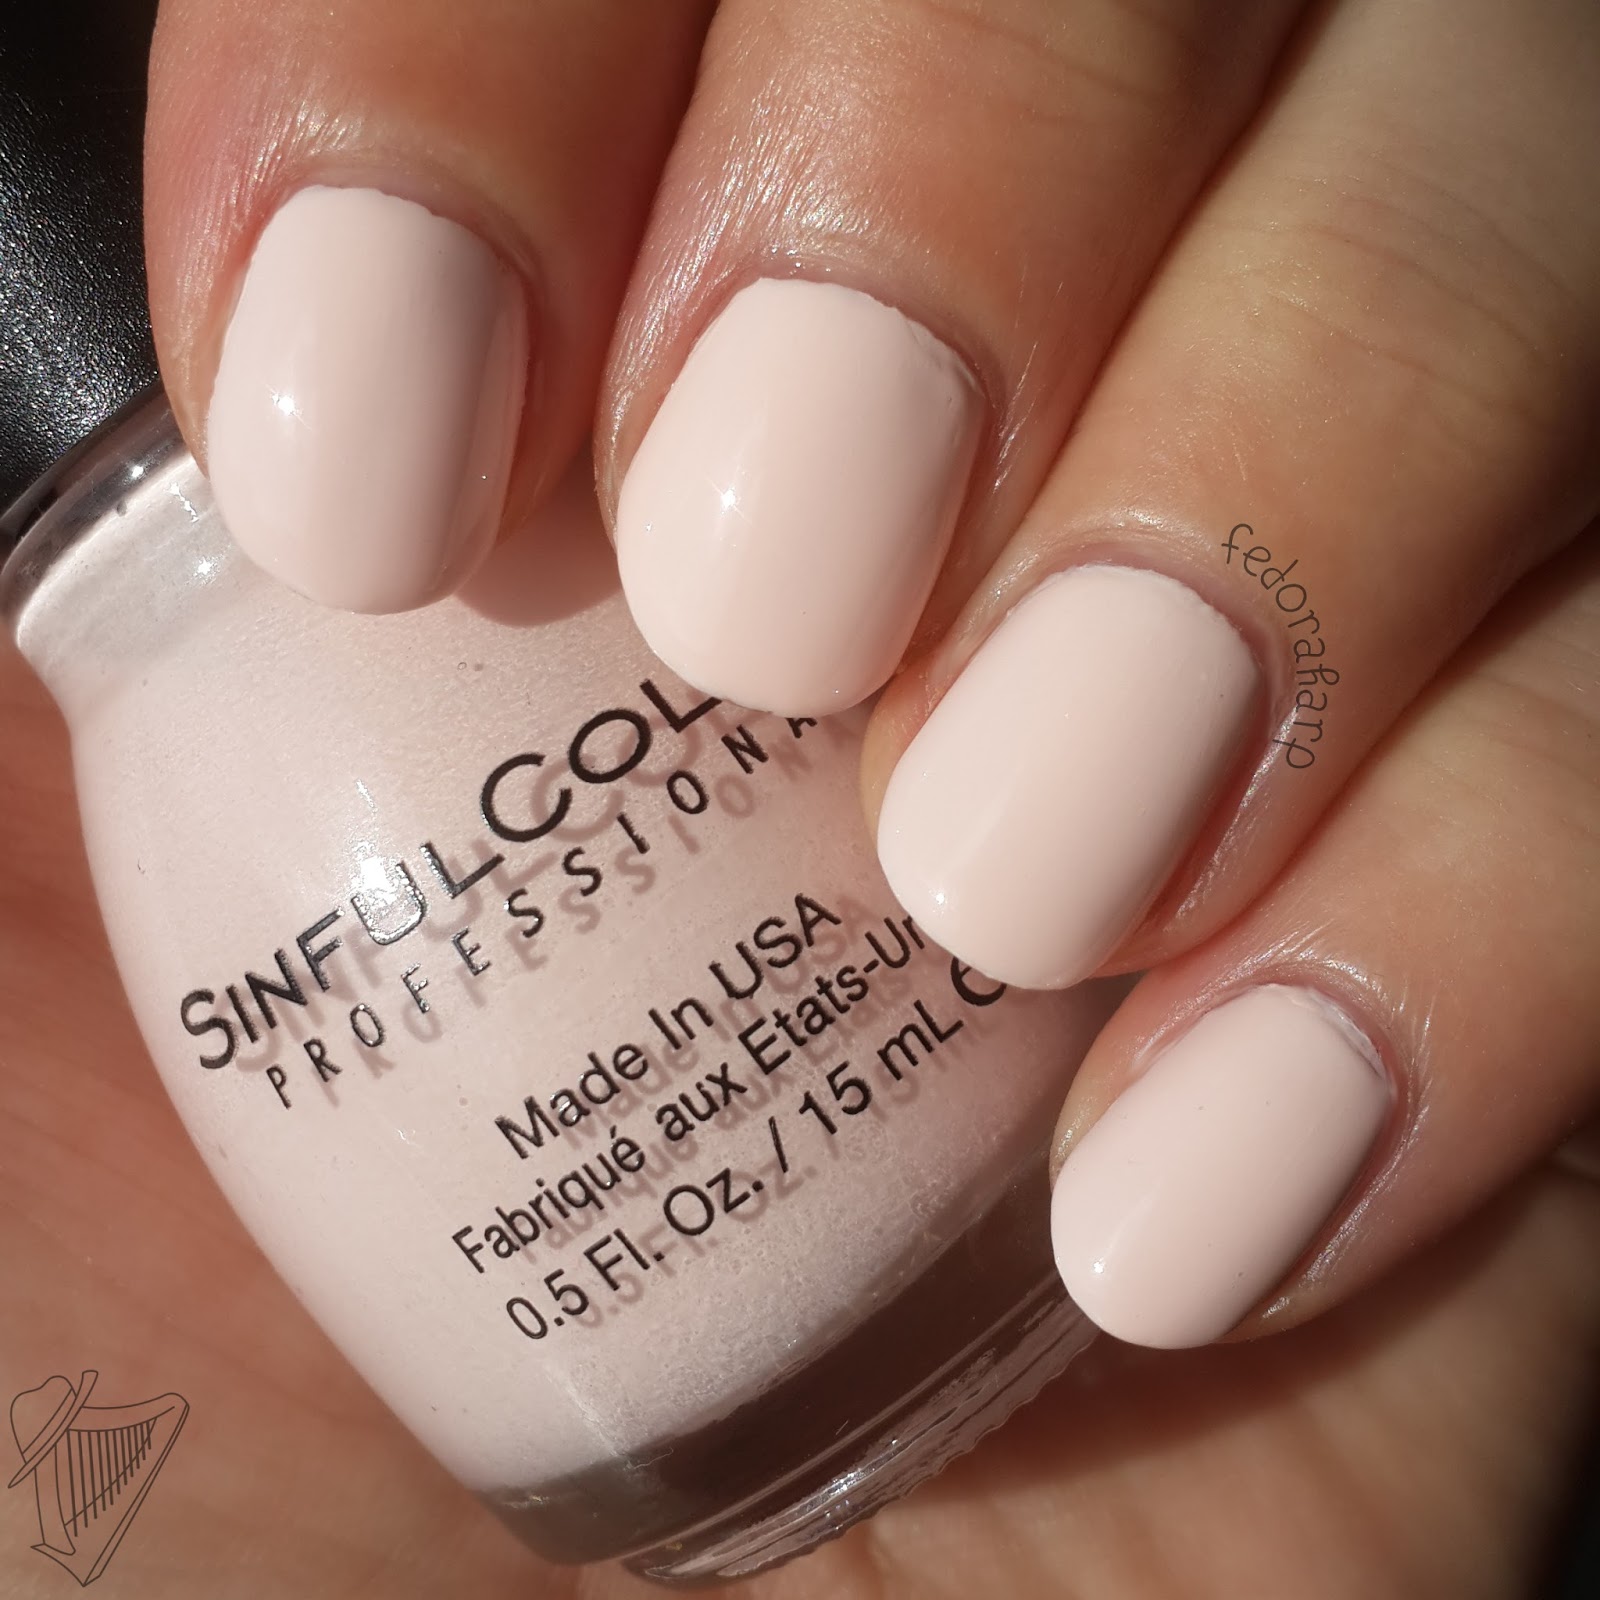
Easy Going is another very soft shade, this time a pale nude/pink color that is almost white. I can see why it's called Easy Going, this is a very laid back and easy to wear polish. It's a great base for nail art, too! This polish applied very streaky at first, but after three coats and top coat it is smooth and even.

Easy Going זה גם צבע מאוד עדין, הפעם ניוד/ורוד שכמעט לבן. גם ללק הזה יש שם מאוד מתאים לצבע שלו- זה צבע שממש קל ללבוש אותו, הוא נטרלי אך לא משעמם בכלל. בשכבה הראשונה הלק הזה יצא מאוד לא אחיד, אבל שמתי שלוש שכבות והוא קיבל מראה אחיד ומבריק.

Boogie Nights:


Boogie Nights is a bright, cheerful cream/jelly hybrid which is almost but not quite red. I can't quite call this orange either, I don't really know how to describe it! This one is definitely my favorite nail polish of all three, it's so energetic! I used three coats for this swatch.

Boogie Nights הוא צבע זוהר ושמח, עם גימור קרמי/ג'לי ממש מיוחד. הוא יושב על קו התפר בין אדום וכתום, כך שאני לא ממש יודעת איזה מהם להגדיר אותו! הצבע הזה הוא בהחלט האהוב עלי ביותר מבין שלושתם, הוא ממש אנרגטי ומרענן! בתמונות האלה שמתי שלוש שכבות.

Now for the nail art!
ועכשיו לנייל ארט!


I created this look with a dotting tool, but it can also be recreated with a toothpick or a bobby pin.
את הלוק הזה הכנית עם כלי מנקד, אבל אפשר להכין אותו אפקט אם קיסם שיניים או סיכת סבתא.


I created this look using striping tape as guidelines, but regular tape will work as guidelines too- just be sure the nail polish underneath is 100% dry before applying it.
את הלוק הזה הכנתי עם סלוטייפ שמיוחד ללקים, אבל אפשר גם עם סלוטייפ רגיל. רק ממש חשוב לוודא שהלק 100% יבש לפני ששמים עליו סלוטייפ!


I created this look using the water spotting technique. There are many tutorials for this technique and I am not sure where it originated, but I will briefly describe it: Place a few drops nail polish on the surface of a cup of water and let them spread out for a couple of seconds. Then spray the surface of the water with a mist of cosmetic alcohol or hairspray. The nail poilsh will begin to bubble and split, and in a few more seconds it will look the way it does on my nails. Then you dip your fingers into the water, so that the pattern is transferred on to your nails. It is quite easy to do, although it's pretty messy.

את הלוק הזה הכנתי עם טכניקת "Water Spotting". יש הרבה טיוטוריאלים לזה, אבל אני אסביר בקצרה: לוקחים כוס מים (כדאי בחד-פעמי) ומניחים עליו כמה טיפות לק. אחרי כמה שניות הלק יתפזר על משטח המים. משפריצים קצת אלכוהול קוסמטי או ספריי לשיער עליו, ומייד הלק יתחיל לבעבע ולהתפרק בצורות שנראות כמו מה שיש בתמונות כאן, טובלים את הציפורניים בתוך הכוס, והלק נדבק לציפורניים. זה ממש קל לעשות, אבל עושה המון בלגן!

Sinful colors can be purchased at Superpharm branches all over Israel, and it usually costs between 10-15 shekel per bottle. They have a lot of beautiful colors, and they are very affordable, go check them out!

ניתן להשיג סונפון קולורס בסניפי סופרפארם ברחבי הארץ, בדרך כלל במחירים של 10-15 ש"ח לבקבוק. יש להם המון צבעים מהממים, תלכו לראות!

Monday, May 25, 2015

NOTD: Pastel gradient with flower glitter

This mani is from quite a while back- I have a little bit of a backlog to work through. I may have neglected this blog, but I still did some nail art!

This is a sweet little spring color gradient I made, and for the finishing touch I added some flower glitter on two accent nails:


Polishes used: (I think! This is pretty old so there's a little guesswork involved)
Ga-De 505 Mexican Rose (pink)
Ga-De 435 Peach Sorbet (orange)
Ga-De 502 Curry Delight (yellow) (special thanks to Yael from PaintThemAll for showing this gorgeous yellow to me! I don't often buy yellow so I never would have purchased it otherwsie)
Ga-De 60 Pink Daisy (glitter topper)

Tuesday, February 17, 2015

Swatched: Random Superficially Colorful polishes

Hey all! I don't especially have a theme for today's post, I just thought I'd share swatches of some more Superficially Colorful polishes that I picked up on Black Friday.

I'll admit that these aren't my best swatches ever, they came at the end of a long day of swatching so my cuticles were a disaster and the lighting isn't perfect. But they're still really pretty polishes, so I needed to share!

I don't have anything to say about them individually so I'll address them as a group. The formula was great, opaque in two medium coats, not too thick and not too thin. They all have a very similar shimmer that isn't in your face glittery but is a more subdued, classy kind of gorgeous. New World and Cornucopia are more metallic shades (New World is completely smooth while Cornucopia has the tiiiiniest hint of brush strokes, but only if you're really looking for them), while Omaticaya is more of a jelly. They all have some holo but Omaticaya's holo is the most prominent. Overall I've had a fantastic experience with every single shade I've tried so far from Superficially Colorful, and I'd recommend them to anyone! I have one of her thermals on its way to me and I can't wait to get it :D


Monday, November 10, 2014

Swatched: Ga-de Designs collection

Ga-de has done it again! They are definitely scoping the market, because they just released a collection (called Designs from what I've been able to ascertain) that is similar to a lot of the glitter bombs put out by some of the more well know indies out there.

This series has four polishes, each composed of two different sizes of hexes plus one larger type of glitter. For two of them the larger glitters are flowers, and for the other two they are stars.


A note on the formula: They all have the same application- it's very easy to apply the hexes, and you have to do a little fishing around and placement to get the larger glitters out. Still, it's not very hard to 'catch' the larger glitters, they're fairly cooperative. And that's more or less the standard application for particles that size. I noticed that the stars were slightly easier than the flowers, possibly because the pointy tips get caught in the brush more easily. Then again, it was really a very slight difference, so I could be imagining it.


Pink Daisy (60)


Daisy Bloom (61)


Blue Star (63)


Rising Star (64) (aka why did Ga-de make a Captain America polish? Not that I'm complaining)


Each of these polishes can be purchased at Superpharm for around 15 shekel, unless they're not 'on sale' (really they're usually 15 shekel or so and occasionally they 'end the sale' to show us what a good deal we're getting paying 15). Sometimes you can get Ga-de polishes at Hamasbir too, but they usually have a smaller selection, and not so much new stuff.

Which one of these do you want?
Related Posts Plugin for WordPress, Blogger...